[1/3] From the hardware to the cloud: Building your own IoT solution

Have you ever thought about developing your own IoT application from scratch, but you didn’t know where to start? For you and all of those maker souls out there who want to materialize their projects, I’ll walk you through my experience, because I’ve been there too.
Introduction
This is the first of a series of articles through which I will describe all the process, from the hardware design to the cloud application, to make my project come alive. The challenges, problems, achievements, and even some technical details and tutorials related to specific devices used at different stages of the process.
How did I choose my project?
First things first, let me introduce myself: I'm an electrical engineering student, about to finish my career. For my graduation project, I wanted to have the experience of designing and developing my own device, and being able to use it to deploy an IoT application which could contribute to solve one of my city's problems. In addition, I wanted that solution to be affordable and simple, so that it could be used by anyone regardless of their background. After thinking for a few days about it, I leaned towards mobility problems: Deploying my own smart parking application.
Why did I choose this project?
As the world’s population increasingly grows, mobility in many cities tends to collapse due to the large number of vehicles circulating in the streets. In commercial sectors, the problem is worst due to the time it takes for a driver to find a place to park his vehicle, generating unsustainable congestion. Smart parking systems have become a very helpful tool to reduce mobility problems in those places with high vehicles concurrence.
However, these systems are usually complex and expensive. Their installation has to be done by specialized staff and even the parking structure often needs to be modified. Additionally, a lot of money and time should be spent on maintenance. For that reason, these kind of systems are not implemented everywhere. That's why I decided to build a more simple, practical and cheap solution to help drivers to locate empty parking spots.
I figured out that to develop this project, it could be divided into two big stages: hardware design and software application implementation.
Hardware design
1. Device's features definition
As a starting point, it was necessary to define which characteristics would require the project in order to start planning on how to achieve them. For my device, I chose the following features:
- Low power consumption
- Portable
- Wireless
- Long battery duration
- Easy to install
- Long signal scope
- Reliability
2. Modular components selection
Then, I needed to think about the modular components the device should have in order to accomplish its function: to detect a vehicle's presence in a parking spot and transmit that information to the software application on a wireless way.
First of all, I would need to find a sensor capable to detect a vehicle's presence. Then, a microcontroller would be necessary to read, process and organize the data collected by the sensor. Last but not least, it would be necessary the use of a wireless module to send the information to a server, where the data would be stored to be used by the software application.
Keeping all of this in mind, the following step would be to search and select all the needed components and technologies to accomplish with the requirements mentioned before.
3. Technologies selection
In order to select the technology, I studied the state of the art of smart parking and vehicle detection systems. I found that the most common sensor technologies used for vehicle detection are: infrared, ultrasound and magnetic. However, I considered that detections using ultrasonic and infrared sensors could have a bigger probability of failing, due to its measurements could be affected by things like the surfaces' shape or even the dust of the environment. So, I decided to test magnetic sensors first.
I started looking for magnetic sensors, mainly with low power consumption and high sensitivity. I studied the characteristics of at least 10 different sensors and select the five that seemed better to me. Later, I created a google sheet where I registered those five sensors with its main features: supply voltage, power consumption, sensitivity, resolution and communication interfaces, in order to compare them.
In addition, due to their small size, I made sure that the chosen sensors had an adapter board for fast system prototyping and device evaluation. In the end, I chose the ones with the highest sensitivity but with a low power consumption. The references of those sensors are MMC5883MA and LSM303AGR.
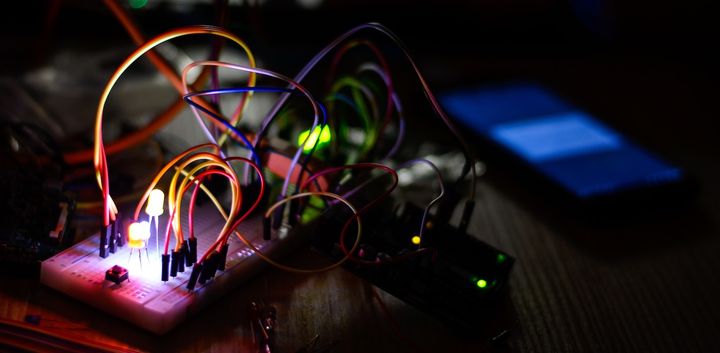
To select the microcontroller, I limited my research to 8 bits architectures, to reduce the cost and the programming complexity since the tasks that should be done by the microcontroller are actually simple. I needed to find a low power microcontroller which included a packaging that allowed me to make tests for the prototyping, that is to say, appropriate for being used in a breadboard. I ended up deciding to test PIC microcontrollers, starting with the PIC18F2550.
At that point, I needed to select a wireless module. The first question here was: which wireless technology should I use? Well, after a few days of intense research and my coworkers advice at Ubidots, I decided to use LoRaWAN. Due to its characteristics such as low power, long range, and high interference immunity, LoRaWAN is a powerful technology for Internet of Things (IoT) applications. Although there is a limitation regarding the size of the packages that can be sent using LoRaWAN, this is not a problem for IoT applications because big payloads are not needed to send data collected from sensors.
Afterwards, I looked for a LoRaWAN module with low power consumption, high scope, and serial communication interfaces. It was mandatory to make sure that the working frequency of the LoRaWAN module would coincide with the ISM band of my country. Some weeks before that, I had been testing a development board called SODAQ ONE. That board includes a built-in LoRaWAN module called RN2903, which met the requirements of this project. So I leaned for using this known module, which showed a very good behavior in the tests carried out with the SODAQ ONE.
If you're already familiar with the SODAQ ONE V3 and want to get started with Ubidots, check out this guide and start today!
After carrying out all the steps mentioned above, the next milestone is to test the selected components and build a prototype. The results of those tests will determine whether if these components were adequately chosen for my application or if I should change something.
To be honest, even though the whole process could be complicated, the hardest part for me was to decide where to start. So if you find yourself interested in developing your own IoT application, what I recommend is for you to be clear about the objectives, features and the whole scope of your project, and the rest of the path will appear by itself in front of your eyes.
If you want to know how it all turned out, keep an eye on the next posts to come!
Sincerely, Daniela.


