How to build a parking sensor to solve the pain of finding a free spot
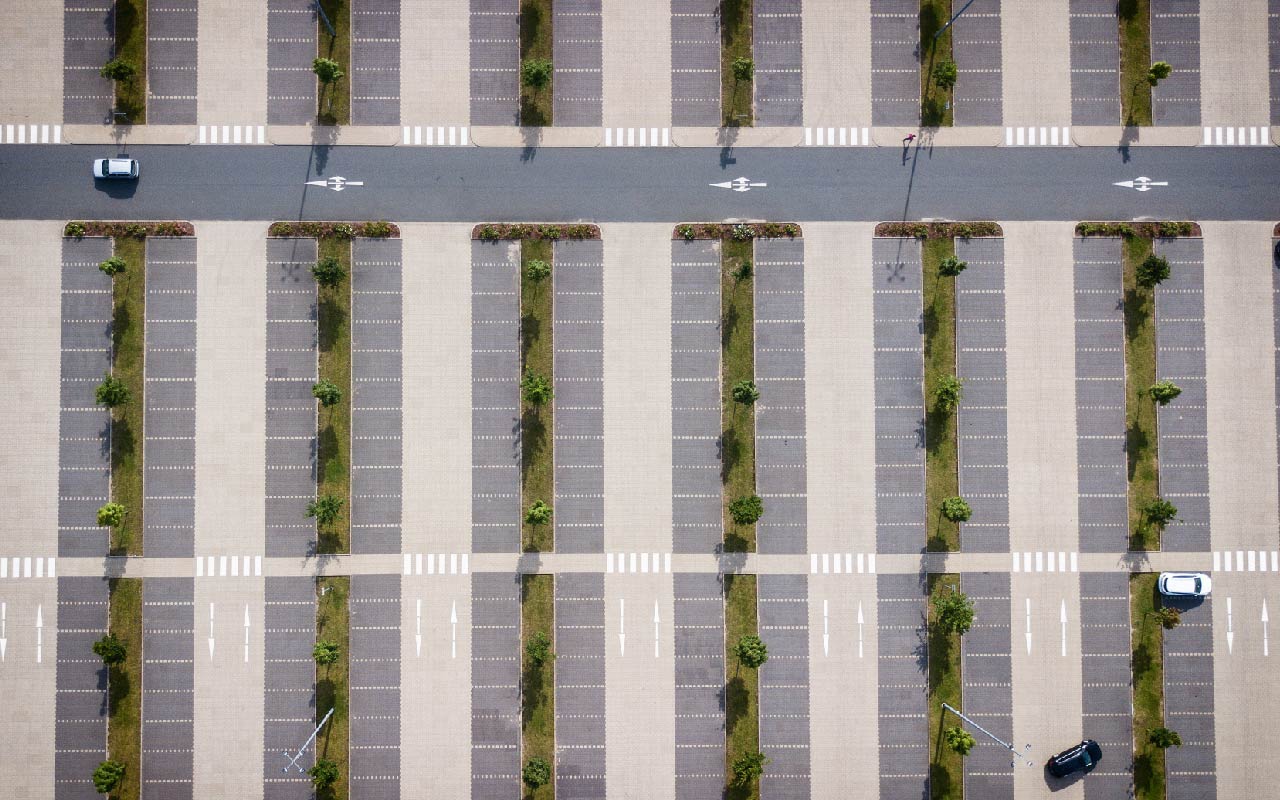
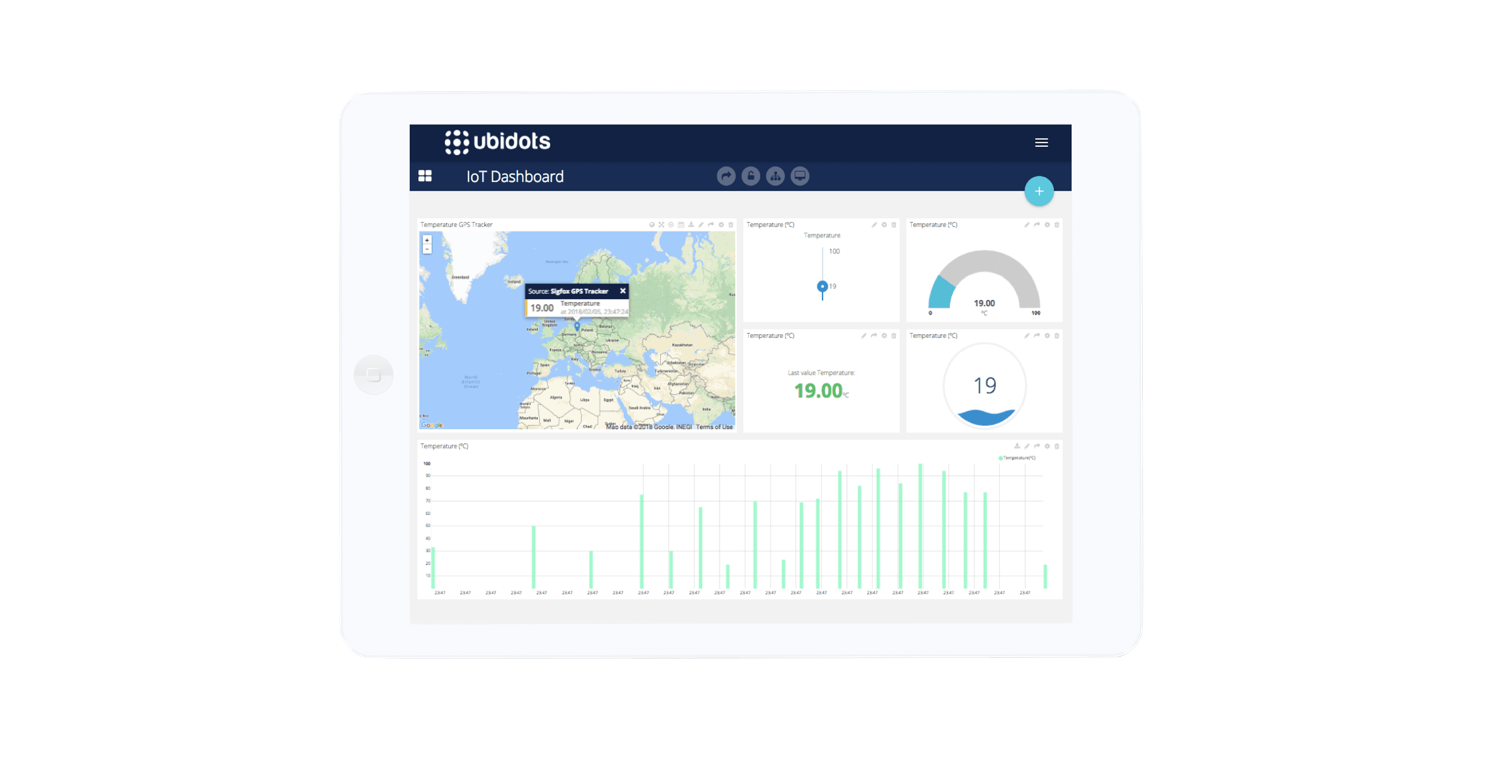
In this project, we’ll build a simple parking sensor using a Raspberry Pi. It turns out that every morning I have to face this question: is the ONLY parking spot in front of my office already taken? Because when it actually is, I have to go around the block and use at least 10 more minutes to park and walk to the office.So I thought it would be cool to know whether the spot is free or not, before even trying to get there. At the end, the result was a nice widget that I could check from my iPod or mobile phone:
Materials
- Raspberry Pi Model B:
- USB WiFi Dongle
- Motion sensor by Parallax
- Three female to female wires
Wiring
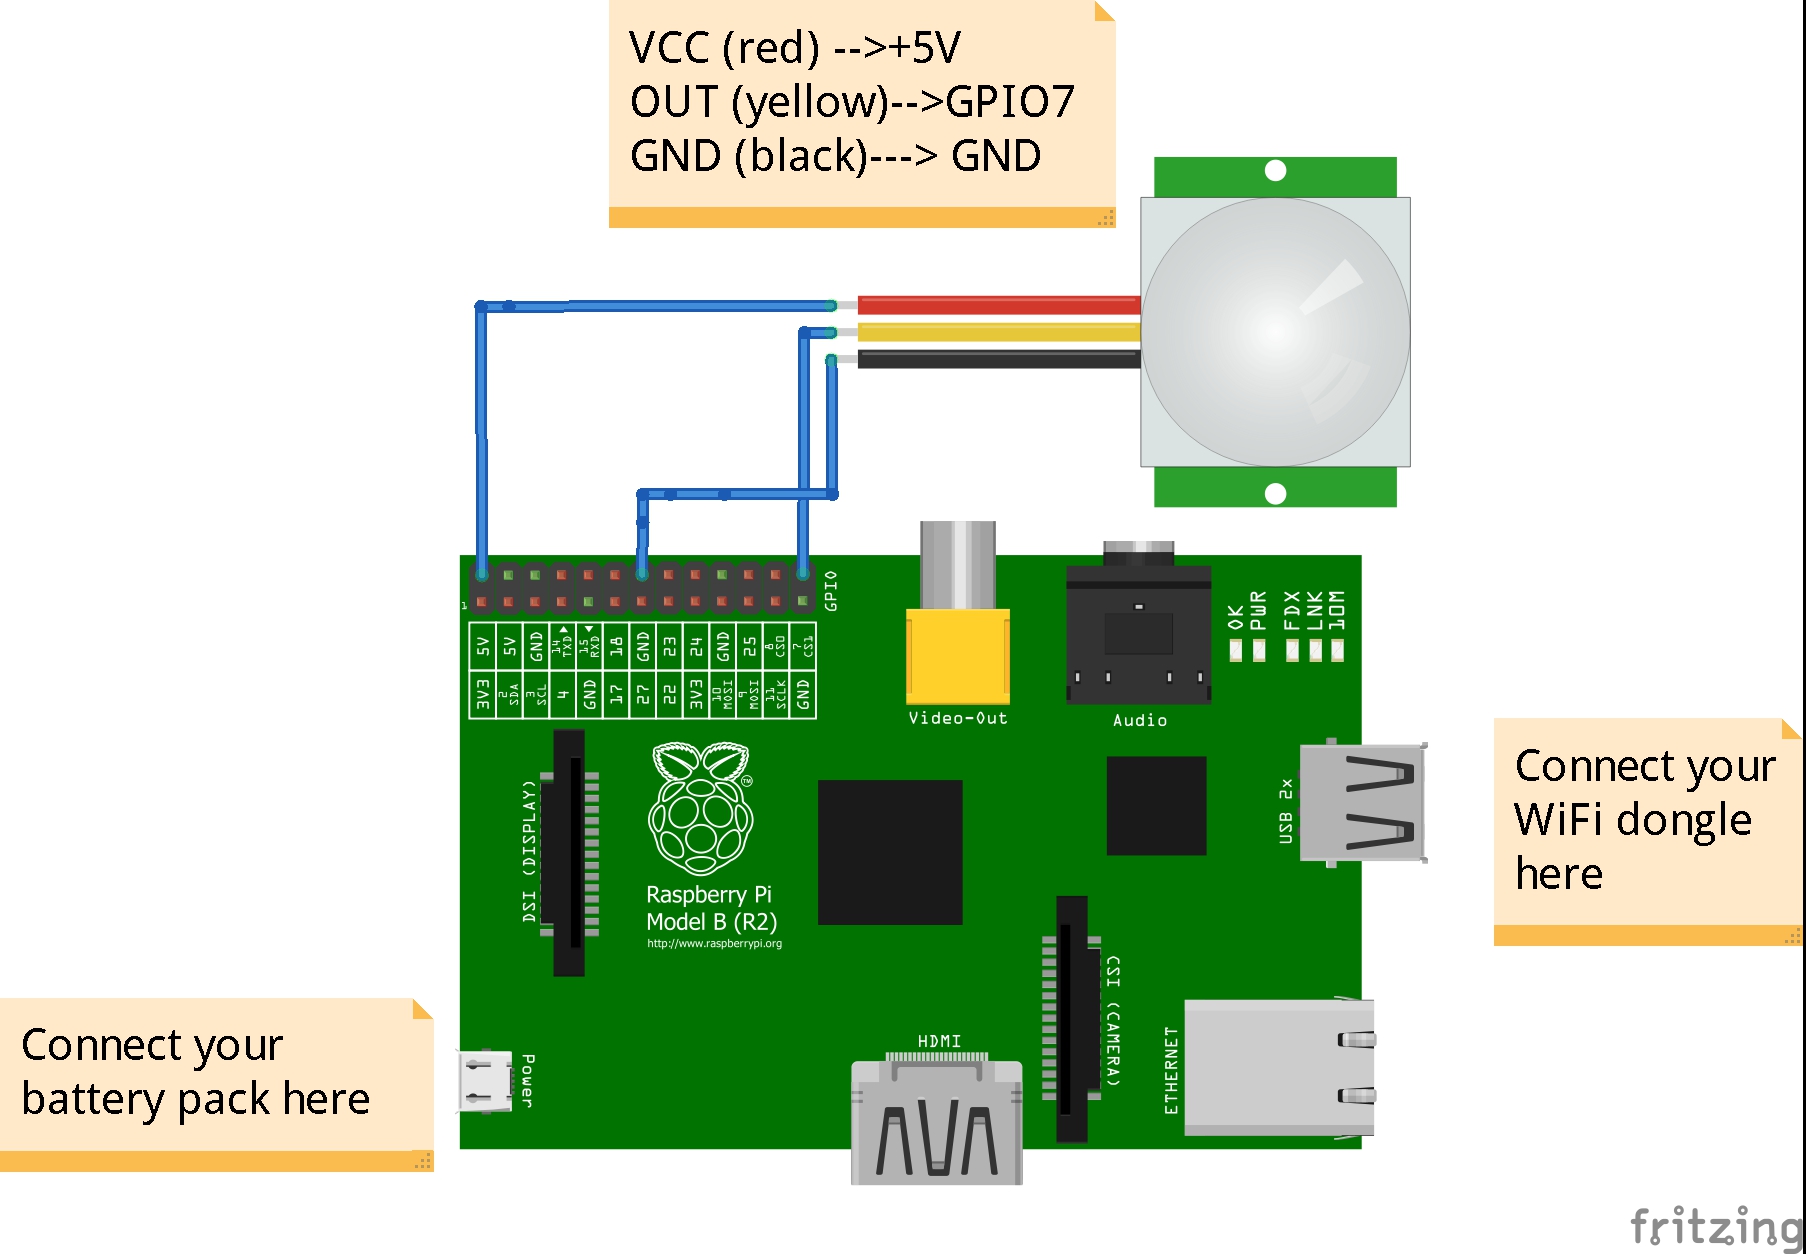
The motion sensor is very easy to install as it only has three pins: GND, VCC (+5v) and OUT (digital signal “1” or “0”). If there’s movement around it, it will output a “1”, if there isn’t, a “0”. You can see the connection in the diagram below, the cables are plugged directly to the GPIO pins of the Raspberry Pi. If you need more information about GPIO pins you can visit this guide from makezine.com; it’s a good source to become familiar with the Raspberry Pi pins.
Setup your Ubidots account and variables
If you’re new to Ubidots, create an account here.
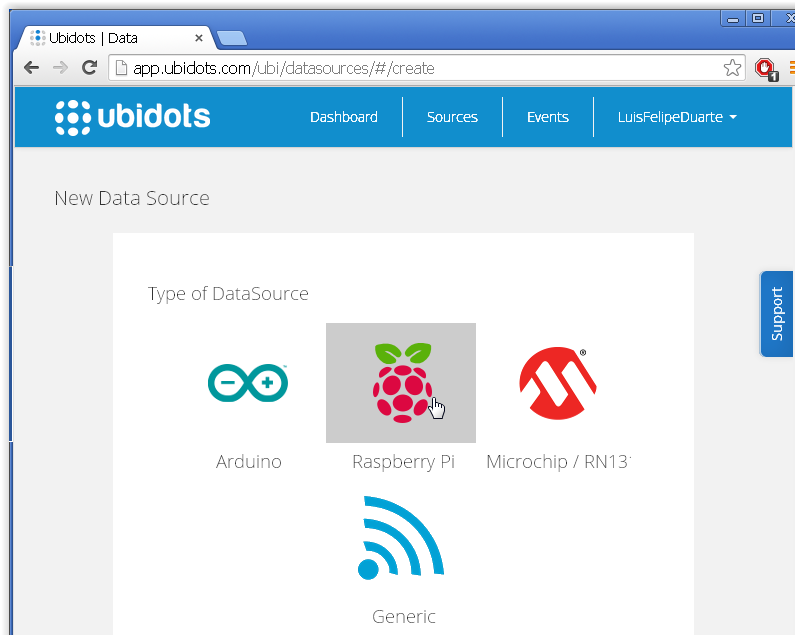
- Navigate to the “Sources” tab and add a new source.
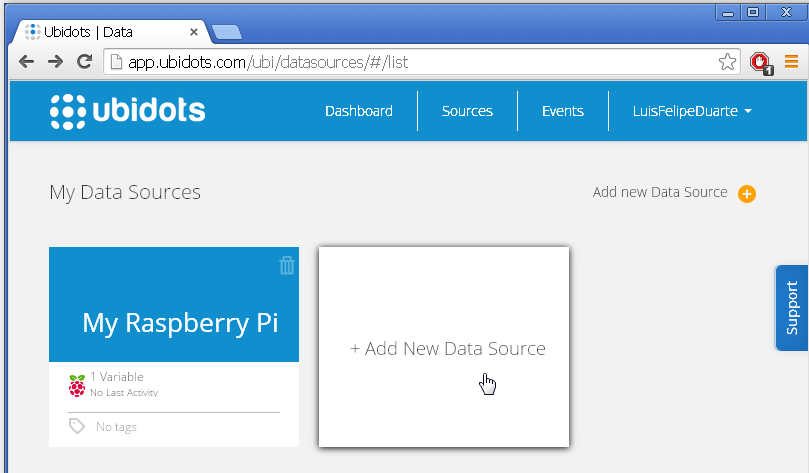
- Select Raspberry Pi as your new data source and fill the form.
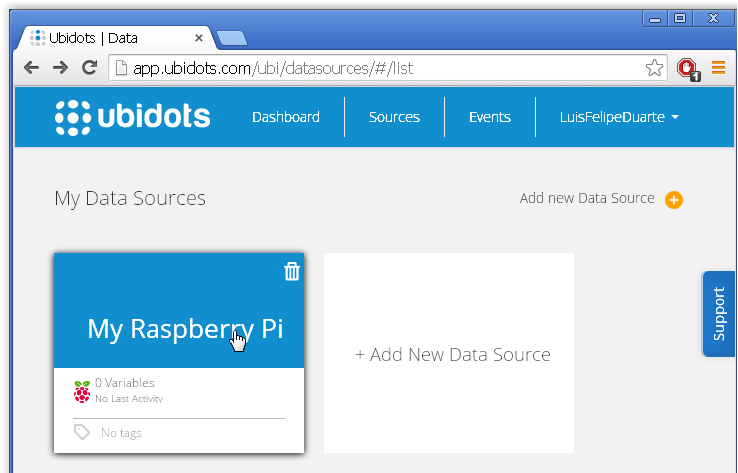
- Now click on the new source “My Raspberry Pi”
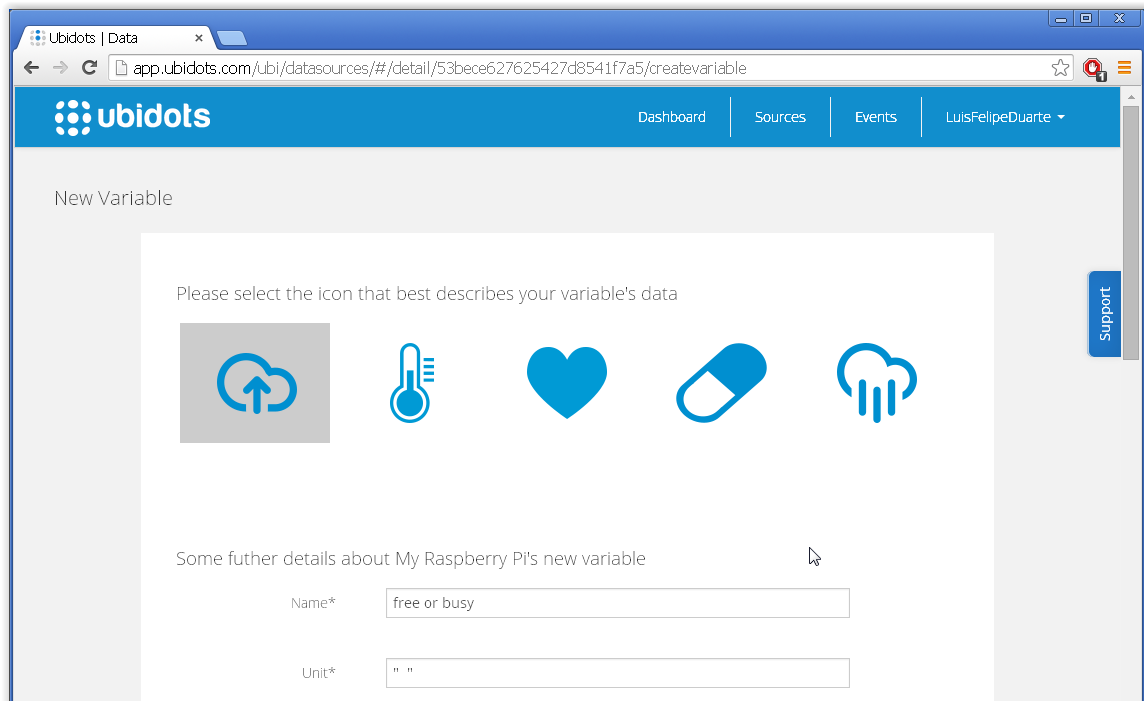
- Add a new variable called “free or busy” and don’t forget to complete the fields name and unit.
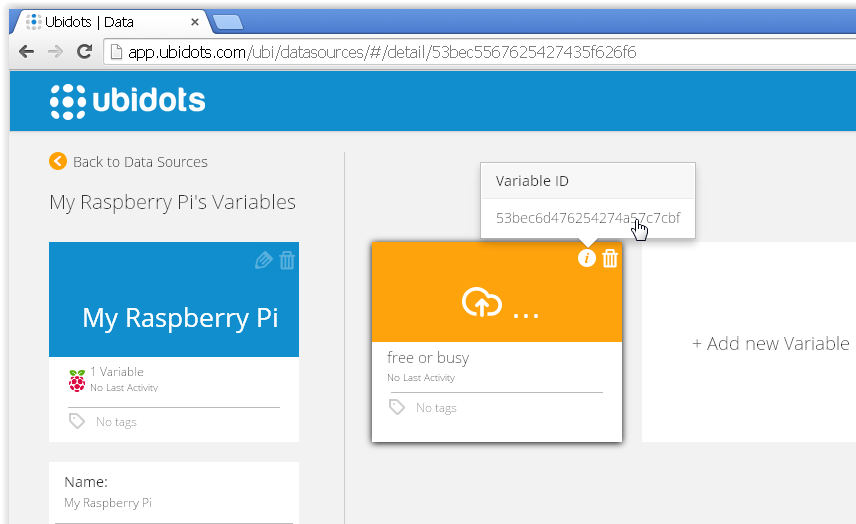
- Take note of your variable’s id:
- Take note of your API Key found in “My Profile –> API Key“
Coding your Raspberry Pi
You should’ve already configured your Raspberry Pi, having Internet access from it. If not, follow this guide, or check this blog post about setting up WiFi.
When ready, access your Raspberry Pi through a terminal (LxTerminal if you’re accessing your Pi directly through it GUI), navigate to a folder where you want to store this project and create a new file called “presence.py”
$ sudo nano presence.py
Now paste the following code:
import RPi.GPIO as GPIO ##GPIO library
from ubidots import ApiClient ##Ubidots Library
import time ##time library for delays

GPIO.setmode(GPIO.BCM) ##set up BCM as numbering system for inputs GPIO.setup(7,GPIO.IN) ##Declaring GPIO7 as input for the sensor

try:
    api=ApiClient("75617caf2933588b7fd0da531155d16035138535") ##put your own apikey
    people= api.get_variable("53b9f8ff76254274effbbace")##put your own variable's id
    except: print "cant connect" ##if this happens check your internet conection
    while(1):
        presence=GPIO.input(7) ## saving the value of the sensor
        if(presence==0):##if presence is zero that means the other car is still there 🙁
            people.save_value({'value':presence}) ##sending value to ubidots
            time.sleep(1)##check every 5 seconds if the other car moves print "cero"
        if(presence):
            people.save_value({'value':presence}) ##the other car left so is empty now 🙂
        time.sleep(1)
        print "uno"
        GPIO.cleanup() ##reset the status of the GPIO pins
Run your program:
$ sudo python presence.py
Creating an indicator in the Ubidots dashboard
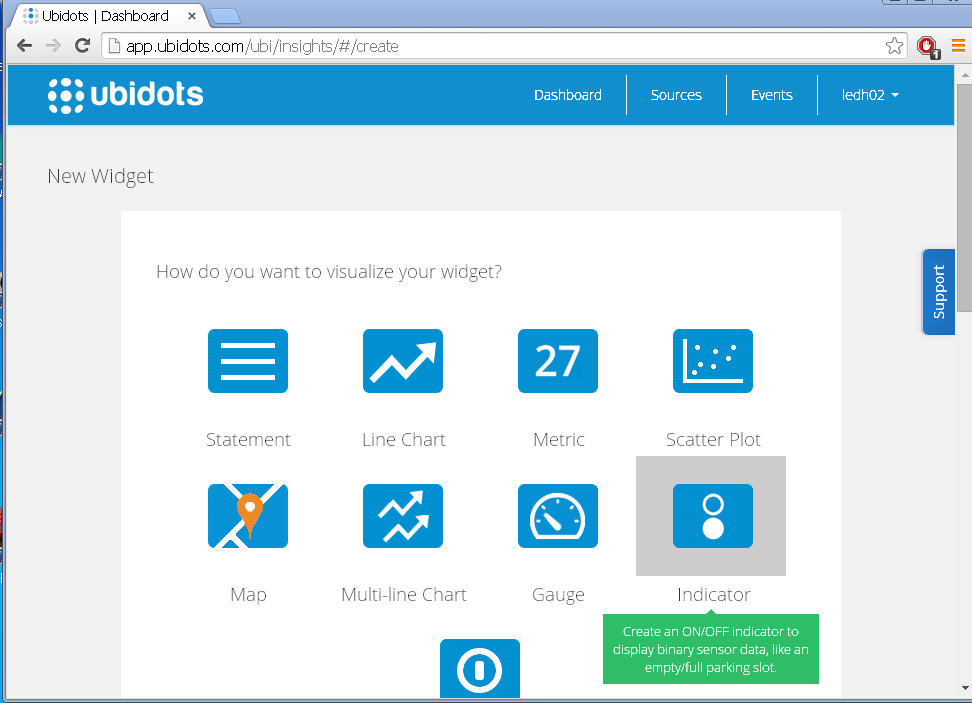
Now that we’re getting the live data from the device, we need to create a custom widget that tells us whether the parking spot is taken or not. Click on the dashboard tab, then add a new widget:

Choose “Indicator” widget and follow the steps:
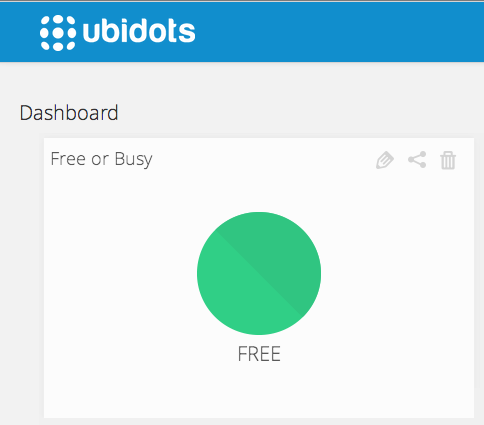
Great! now you should see a live widget indicating the state of the parking spot. Btw you can embed this widget in any web or mobile app:
That’s all for this project! We learned how to plug a motion sensor to the Ubidots cloud using a Raspberry Pi and display its data in a live widget. The project could be improved by using a presence sensor and not exactly a motion sensor (which goes back to “0” after the movement is gone). It can also be extended by setting up SMS or Email alerts, which can be created in the “Events” tab in your Ubidots account.
Have a question? feel free to comment below or leave a ticket in our support page.
Here’s another cool project using Raspberry Pi and a motion sensor:
Still don’t have a Ubidots account? click here to get started today.