Light Control with NodeMcu and Ubidots

How many times you have you accidentally left your home lights turned on? Solve this problem quickly with an automatic light sensor system that can shut off (and turn on) depending on the amount of light in an environment.

This system works with a light sensor that will be responsible for detecting the amount and clarity of daylight. If the sensor detects daylight, it will turn off your house light and raises the blinds; if the sensor detects that there is no light present, it will turn on the light and lowers the blinds. Also, using Ubidots you can turn on or off an extra light whenever you want.
It’s very simple to make, and more importantly, helps save energy.
Overview
This post explains how to use the NodeMcu with Ubidots. NodeMcu is an Internet of Things (IoT) device with GPIO, PWM, IIC, 1-Wire, and ADC all-in-one board, and it has Wi-Fi connection. It’s easy to use and you just need the Arduino IDE to program the device.

Requirements
- NodeMcu version 1.0
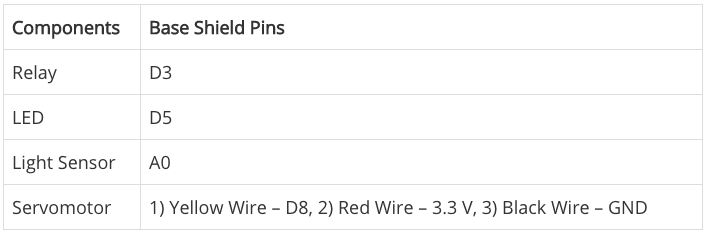
- Grove Base Shield for NodeMcu
- Grove Relay
- Grove Light Sensor
- Grove white LED
- Servo motor
- UbidotsESPMQTT library
- Ubidots account
Setup
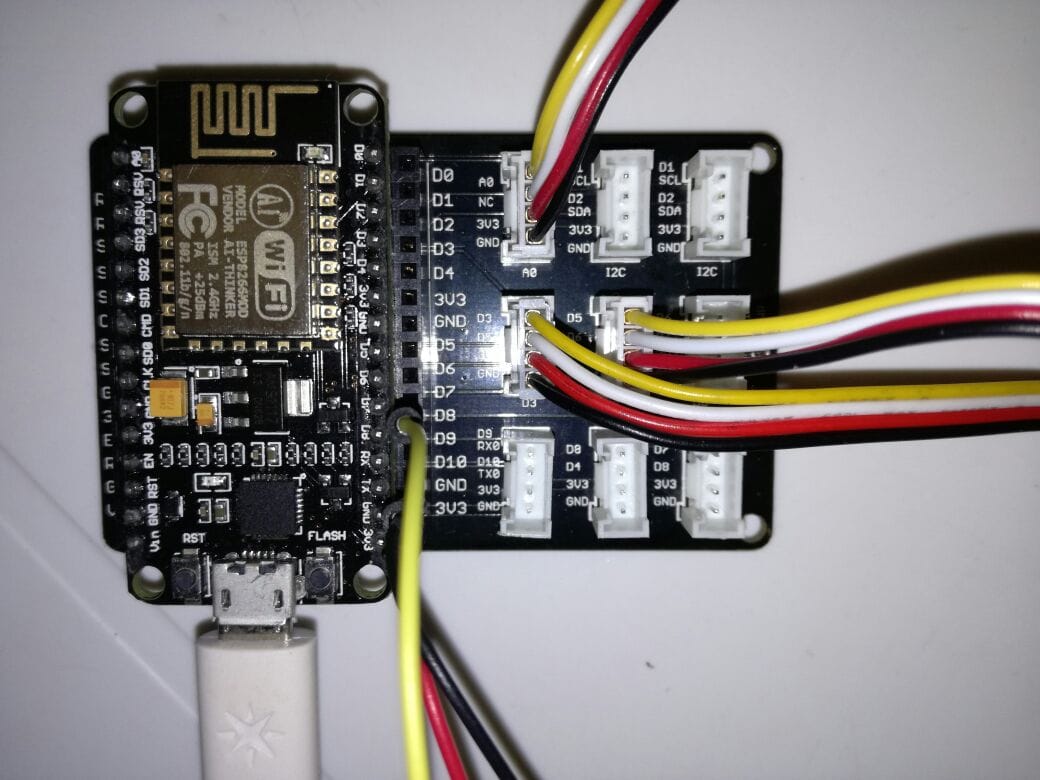
- First, connect the NodeMcu to its base shield and then connect the components as follows:
The end result:
- Go to the Arduino IDE, click on Files –> Preferences and enter the URL below into the “Additional Board Manager URLs” field. You can add multiple URLs, separating them with commas.
http://arduino.esp8266.com/stable/package_esp8266com_index.json
Open “Boards Manager” from Tools –> Board menu and install the esp8266 platform. Don’t forget to select your NodeMCU 1.0 board from the menu after installation.
2. Download the UbidotsESPMQTT library if you haven’t already. Now, click on Sketch –> Include Library –> Add .ZIP Library
3. Select the .ZIP file of Ubidots ESPMQTT and then “Accept” or “Choose” for all libraries. If you can’t add the library, try manually: unzip the downloaded rar / zip and copy the folder from the library to the path C:UsersubidotsDocumentsArduinolibraries
4. Close the Arduino IDE and open it again.
Setting up Ubidots
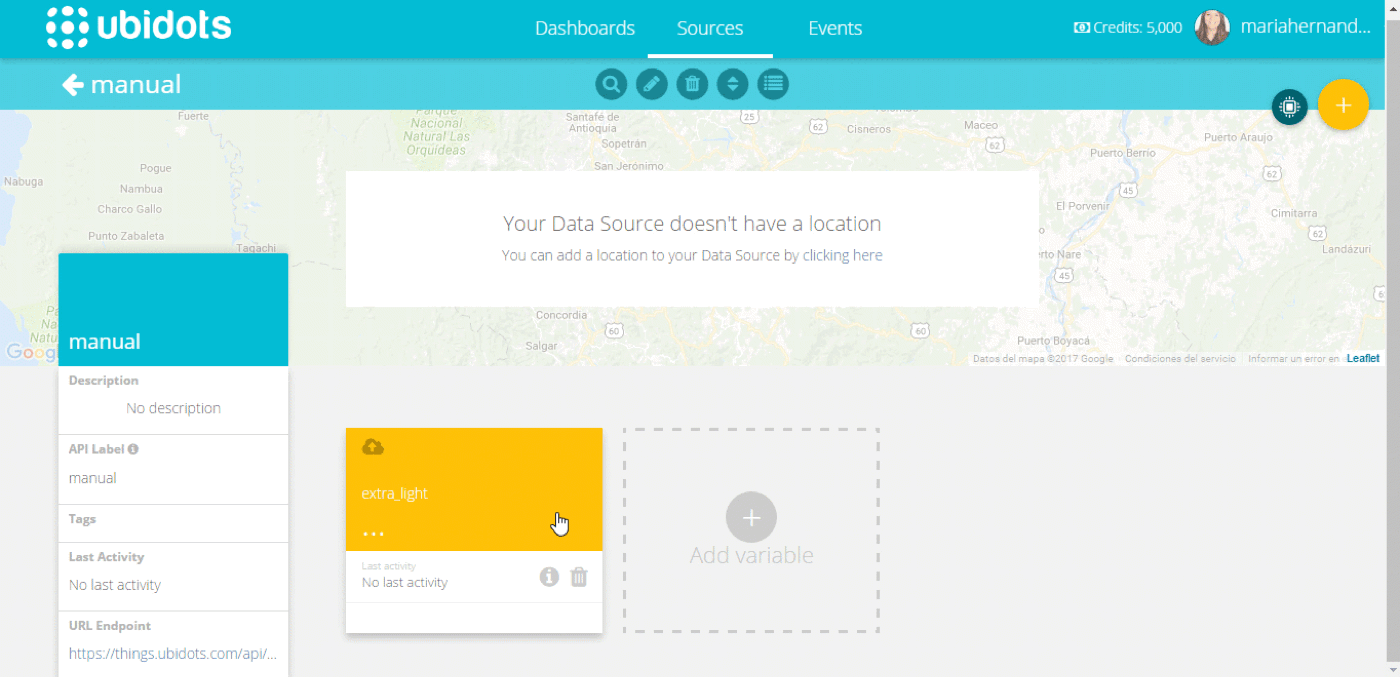
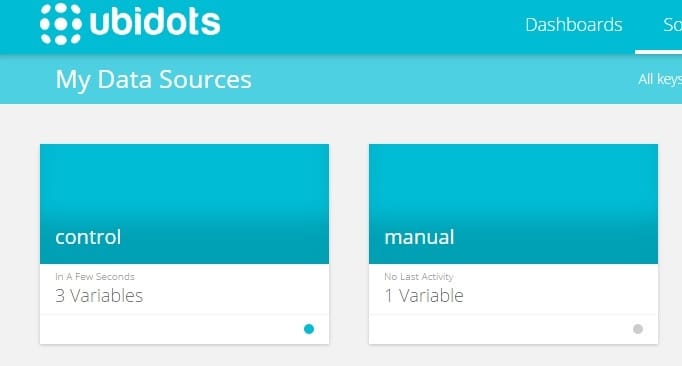
- Add a new Data Source called “manual” and a new Variable called “extra_light” (as seen below).
2. Verify that the name of the Data Source and Variable is the same as their API Labels. This is important because our variable will be subscribed through the API Label and it allows the communication between Ubidots and the NodeMcu. After you have verified the Data Source and Variable labels, you can edit their name with just one click.
3. Create the switch that allows you to turn the light on or off. To do this, go to Dashboard and in the upper right of the page, click Add Widget. Select Control –> Switch –> manual(data source) –> light(variable) –> finish.
Program the ESP8266 NodeMcu
Once everything is connected correctly, we will go to the IDE and write the following code:
/****************************************
 * Include Libraries
 ****************************************/
#include "UbidotsESPMQTT.h"
#include <Servo.h>

/****************************************
 * Define Constants
 ****************************************/
#define TOKEN "...." // Your Ubidots TOKEN
#define WIFINAME "...." //Your SSID
#define WIFIPASS "...." // Your Wifi Pass
#define MQTTCLIENTNAME "..." // Your MQTT Client Name, it must be unique so we recommend to choose a random ASCCI name

Servo myservo;

int sensorPin = A0;
int ledPin = D5;
int relayPin = D3;

int state;
int lightState;

Ubidots client(TOKEN, MQTTCLIENTNAME);

/****************************************
 * Auxiliar Functions
 ****************************************/

void callback(char* topic, byte* payload, unsigned int length) {
  Serial.print("Message arrived [");
  Serial.print(topic);
  Serial.print("] ");

  for (int i=0;i<length;i++) {
    Serial.print((char)payload[i]);
  }
  Serial.println();
   if ((char)payload[0]=='1'){
    digitalWrite(relayPin, HIGH);
  }
   else if ((char)payload[0]=='0'){
    digitalWrite(relayPin, LOW);
  }
}

/****************************************
 * Main Functions
 ****************************************/

void setup() {
  // put your setup code here, to run once:
  Serial.begin(115200);
  client.wifiConnection(WIFINAME, WIFIPASS);
  client.begin(callback);
  myservo.attach(D8);
  pinMode(ledPin, OUTPUT);
  pinMode(relayPin, OUTPUT);
  client.ubidotsSubscribe("manual", "extra_light"); //Insert the dataSource and Variable's Labels
  }

void loop() {
  // put your main code here, to run repeatedly:
  if(!client.connected()){
      client.reconnect();
      client.ubidotsSubscribe("manual", "extra_light"); //Insert the dataSource and Variable's Labels
      }

      state = analogRead(sensorPin);
      lightState = digitalRead(ledPin);

      if (state <= 50)
      {
        digitalWrite(ledPin, HIGH);
        client.add("light", lightState);
        myservo.write(180);
        client.add("blind", 0);
        client.ubidotsPublish("Control");
        Serial.println("Night - Light ON, Blinds down.");
      }
      else
      {
        digitalWrite(ledPin, LOW);
        client.add("light", lightState);
        myservo.write(0);
        client.add("blind", 1);
        client.ubidotsPublish("Control");
        Serial.println("Day - Light OFF, Blinds up.");
      }
  client.add("luminosity", state); //Insert your variable Labels and the value to be sent
  client.ubidotsPublish("Control");
  client.loop();
  }
Results
After flashing your code, go to Ubidots and refresh the page. You will see the new Data Source “control” created.
If you want to check the state of the blinds or light you can build your dashboard as you desire. If you don’t know how to check this tutorial.
We’ve just shown you how to design a light control based on the Internet of Things, which proves how seemingly complex things can be done very easily with the right tools.
Now it is time to create a dashboard to control and manage your lights today. To learn more about Ubidots widgets and events, check out these video tutorials, and sign up for free today!
