Running Particle CLI in any OS to manage libraries locally
Are you working with Particle devices to build your next IoT project? If your answer is yes, you're in the right place.
Particle provides an easy-to-use Integrated Development Environment (IDE) called Particle Build, which let you do software development in a cloud-based and friendly environment, with the plus that can be run in your web browser from any part of the world.
As an addition option to the web IDE, they also provide the Particle Command Line Interface (CLI), a powerful tool allowing you to communicate with Particle Devices through a command line or terminal application. It let’s you gain complete control over your development environment by managing all projects locally. Functionalities such having the ability to claim and flash devices, manage your owns libraries and devices' settings, and much more, are included.
Following this guide you'll learn how to install the Particle CLI in any OS, plus learn about managing external libraries included in your project and then flash it to any Particle board.
Without further ado... Let's get started! ;)
Requirements
- Any Particle Board.
- A MacOS/Linux, or Windows computer.
- USB communication cable.
- Command line, or terminal application (this depend on your OS).
Table of Contents
- Installing Particle CLI
- Access your Particle account
- Setup your project
- Project folder creation
- Library setup
- Sample code creation
- Compiling the project
- Flashing the project
Installing Particle CLI
- MacOS/ Linux
Open a terminal and run the following command:
bash <( curl -sL https://particle.io/install-cli )
As you can see below, the command will try to install DFU-util. This is a utility software for programming devices over USB. In case the installer is not able to install the utility software automatically see the instructions for installing the DFU-util here.
- Windows
Download and run the Windows CLI installer to install the Particle CLI.
IMPORTANT NOTE: For an advanced installation of the Particle CLI in your computer, we recommend you check the official Particle instructions to ensure the right functionality of it.
Access your Particle account
In the command line, or terminal application run the command below:
particle login
This command will ask you for your email address, plus the password associated with your Particle Account.

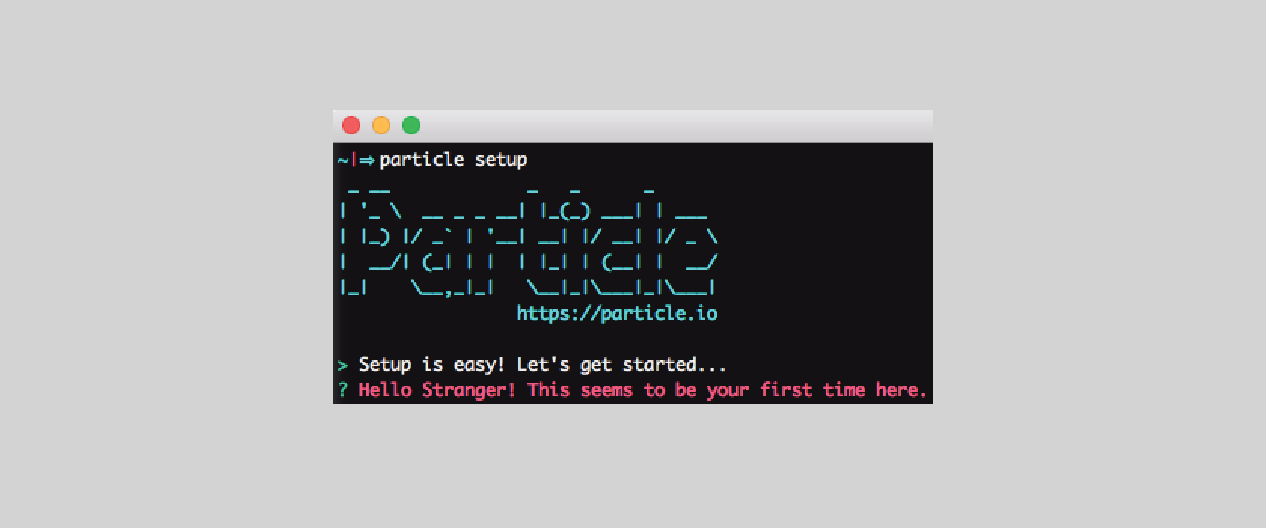
In case you don’t have a particle account run the the command particle setup, and follow the instructions provided.
PRO TIP: The command particle help lists all the commands available in the Particle
Setup your project
To set up your project properly, you should already have the code to be flashed into your Particle Board, and additionally, the libraries required by it.
As a general example, we're going to demonstrate how to compile and flash a Particle Photon to send data to Ubidots over HTTP using the Ubidots Library locally.
1. Create a project folder with the name of your choice and inside any parent folder. In our case, we created a new folder called "particle-photon" inside "Desktop"
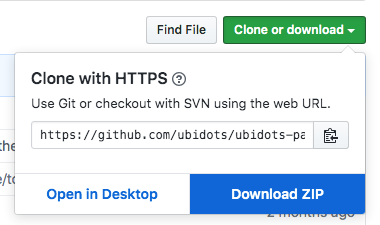
2. Go to the GitHub Repository, download the library as a ZIP to your Downloads folder and unzip it on your folder “particle-photon” previously created.
3. Open a terminal and navigate to your project folder using the cd and ls commands. At this, point, you should already have the unzipped library on this folder.

4. Now, you have to add the following C++ (.cpp) code into your project folder to start sending data to Ubidots over HTTP.
Before saving the sample code into the project folder make sure to assign a valid Ubidots Token from your account where is indicated into the code.
// This example sends data to multiple variables to
// Ubidots through HTTP protocol.

/****************************************
 * Include Libraries
 ****************************************/

#include "Ubidots.h"

/****************************************
 * Define Instances and Constants
 ****************************************/

#ifndef UBIDOTS_TOKEN
#define UBIDOTS_TOKEN "Your_Token"  // Put here your Ubidots TOKEN
#endif

Ubidots ubidots(UBIDOTS_TOKEN, UBI_HTTP);


/****************************************
 * Auxiliar Functions
 ****************************************/

//Put here your auxiliar functions


/****************************************
 * Main Functions
 ****************************************/

void setup() {
  Serial.begin(115200);
  //ubidots.setDebug(true);  // Uncomment this line for printing debug messages
}

void loop() {
  float value1 = analogRead(A0);
  float value2 = analogRead(A1);
  float value3 = analogRead(A2);
  ubidots.add("Variable_Name_One", value1);  // Change for your variable name
  ubidots.add("Variable_Name_Two", value2);
  ubidots.add("Variable_Name_Three", value3);

  bool bufferSent = false;
  bufferSent = ubidots.send();  // Will send data to a device label that matches the device Id

  if(bufferSent){
    // Do something if values were sent properly
    Serial.println("Values sent by the device");
  }

  delay(5000);
}
Once the codes is created, and properly saved in to your project folder, you should have something similar to the image below:

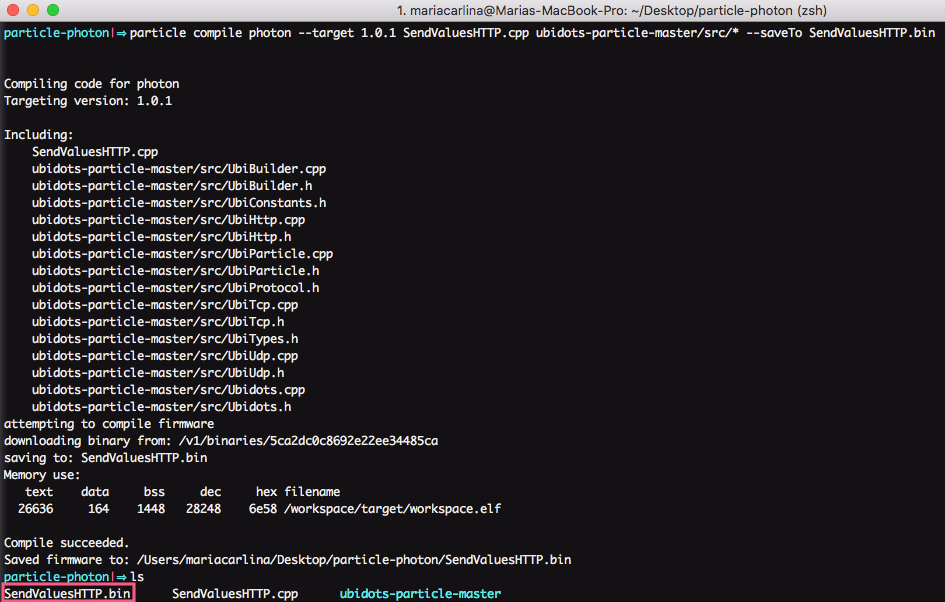
5. Run the following command to compile the cpp file (SendValuesHTTP.cpp) targeting your Particle Photon device:
particle compile photon --target 1.0.1 SendValuesHTTP.cpp ubidots-particle-master/src/* --saveTo SendValuesHTTP.bin
After running this command, a bin file will be created under the name of “sendValuesHTTP.bin”.
NOTE: The compile command can be applied to any Particle device, you just need to change the type of device to which the command will target to. For further info, visit Particle official documentation.
6. Connect your Particle Photon, over USB and put it in DFU mode according to Particle docs.
7. Run the following command while the device is connected over USB:
particle flash --usb SendValuesHTTP.bin
If everything went as expected and the devices were flashed successfully, you should receive a "Flash success!" in the command line.
At this point, you should wait a few seconds until the Particle Photon connects to the internet; the device should blink cyan to ensure connection.
- [OPTIONAL] To verify if your data is being updated properly at Ubidots, you can simply verify the Ubidots’ server response by running the command
particle serial monitor
Summary
You got this! - Just in a couple of minutes, you're able to manage private libraries in your projects, compile, and flash your Particle boards locally using Particle CLI.
Learn more: Fast-tracking your IoT developments using Particle Mesh + Ubidots
Other users also found helpful:
